In this tutorial, I’ll demonstrate how to effortlessly zip your code files directly from Visual Studio Code on Windows 10, without the need for any additional extensions. We’ll be leveraging PowerShell, which is integrated into VS Code, to execute our command.
Let’s say you want to compress a specific folder into a zip file. Here’s how you can do it:
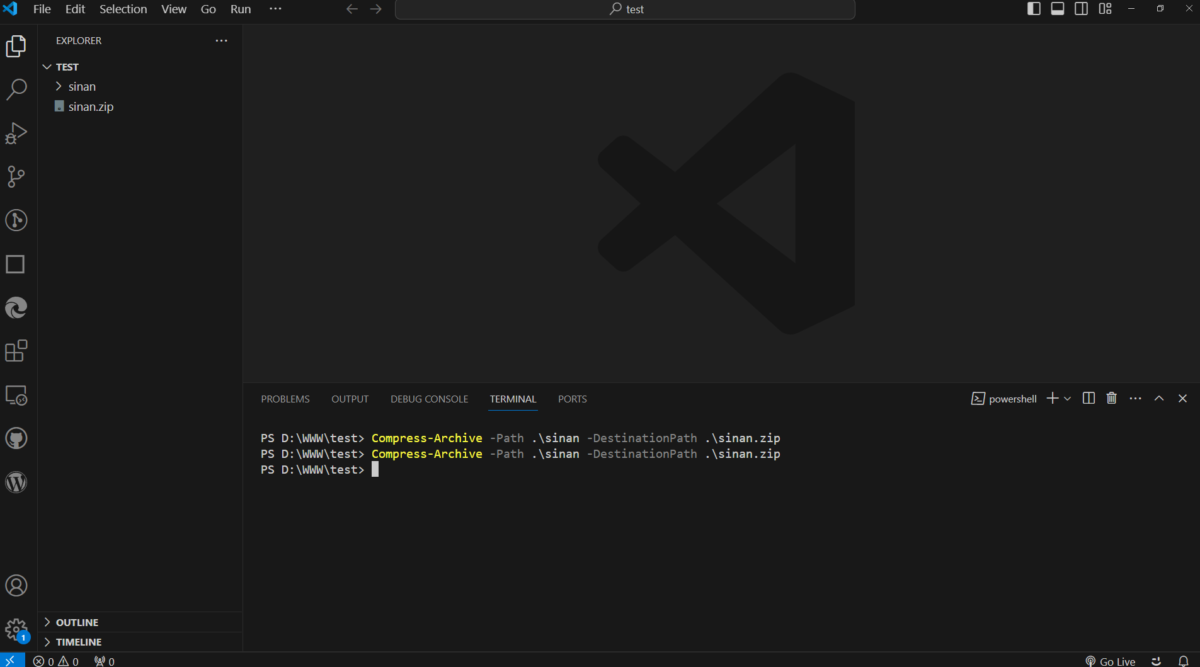
Firstly, navigate to the folder you wish to zip in the Explorer pane of VS Code. Right-click on this folder and select “Open in Integrated Terminal”. This action will launch PowerShell right within VS Code.
Once you have the PowerShell terminal open, you can run the following command to create your zip file:
Compress-Archive -Path .\yourFolderName -DestinationPath .\sinan.zip
Replace yourFolderName with the actual name of the folder you wish to zip.
Here’s a quick breakdown of what each part of the command does:
- The
Compress-Archivecmdlet is the PowerShell command used to create the zip archive. -Path .\yourFolderNamespecifies the folder you want to compress. Ensure you replaceyourFolderNamewith the name of your actual folder.-DestinationPath .\sinan.zipdefines the name and location of the resulting zip file. In this case, the zipped file will be namedsinan.zip.
Please note that this method will zip the entire specified folder. PowerShell’s Compress-Archive does not natively support excluding files directly (for instance, omitting .git directories), so if you need to exclude certain files or folders, you might need to perform additional steps or use a more advanced script.
Happy coding! 🍻